
How to Paint Abstract Portraits in Procreate

Hey there! Let’s look at my process for how I do my more abstract digital painting and portraiture. To get started, I like to use the largest size canvas my iPad can produce at 300 DPI IN CMYK colours so it will be ready to print. In my case that’s either a 25inch by 25inch or a 24x18inch canvas (these sizes also correspond to the printable canvas sizes on printify). It only gives me about 5 layers at that size, but for this type of painting that’s more than enough.
I struggle with colour theory so I use an app called coolers that generates colour pallets and then I screen shot them and import them as an image layer into procreate so I can create a custom colour palette in my swatch library. I put each base colour along the middle slots in the swatch picker and then pick a lighter and darker variation to go above and below it. I typically also grab some grey scale swatches in case I want to work out the values on grey and add the colour as an overlay.
Once I have the swatches ready to go I enlarge the screen shot and rotate it (sometimes I distort it in other ways) so it takes up the whole canvas and then I use it as a base for my background by applying a gausian blur or some other kind of filter.
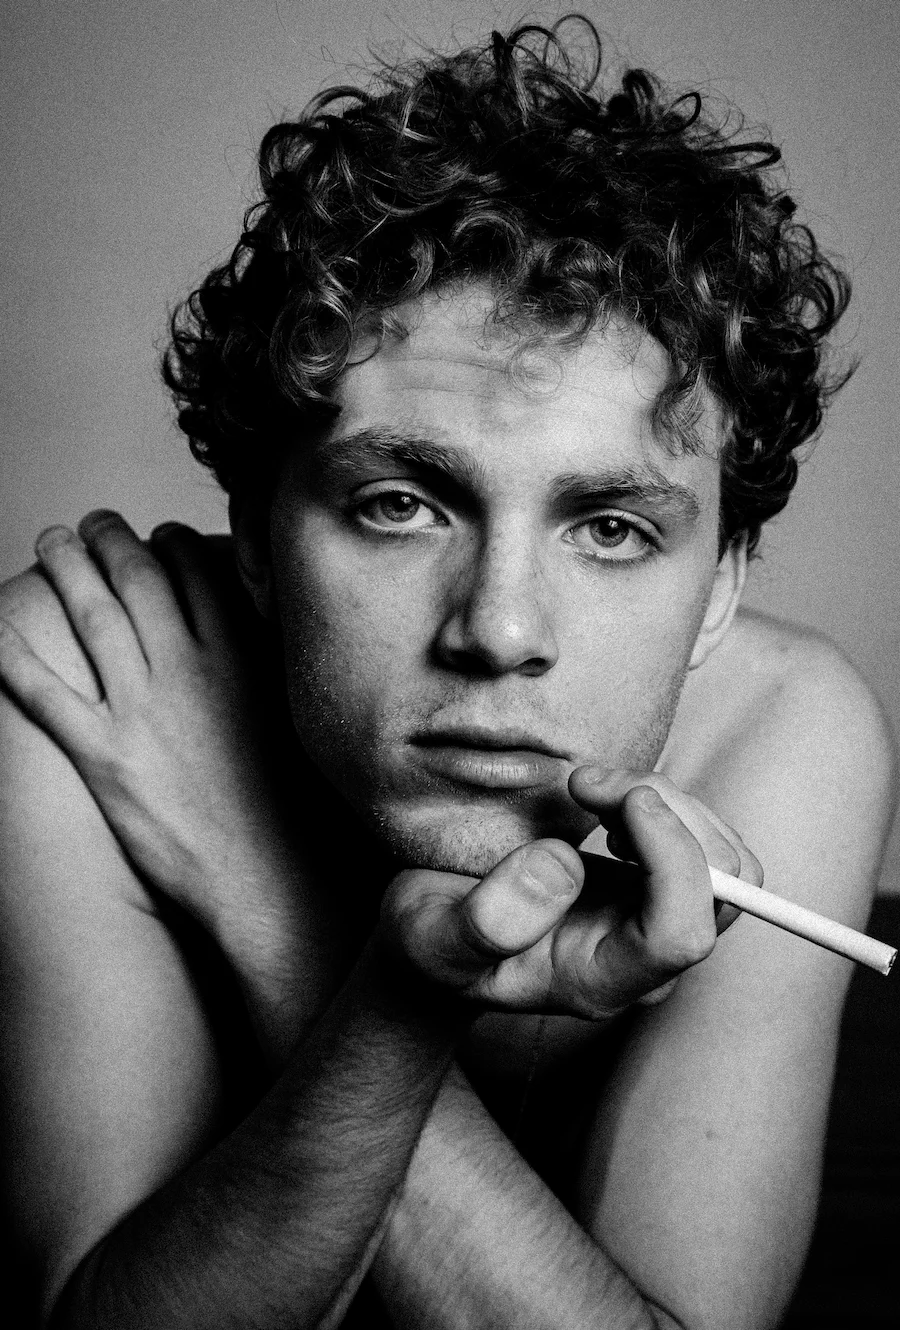
I tend to work off of reference images I find on unsplash and pexels, both of which are royalty free photo library, and this photo was taken by Taylor Hernandez, so thank you to them. I start by roughing out the shapes of his head and body and adding some detail in the face to get an idea of where everything is. My idea for this painting is to have the smoke from the cigarette turn into his hair
Once I have the rough outline sorted I go over top filling in all the areas where the light hits the figure. It helps to really understand the planes of the face and body to do this quickly. Once the basic lighting is done I go over top again filling in highlights and then go on a separate layer underneath to fill in the shadow areas.
After I have most of the values laid in I go in with a specialty brush to do the smoke that blends into the hair. Procreate has a fantastic smoke brush.
For the eyes, I start by blocking out the eyeballs and then drawing in the iris as a solid colour. After putting in the pupil I paint in some glistening highlights.
Once the figure is done I click on the background layer and smudge it with the smoke brush.
After everything is done it’s time to sign. I like to do my signature in white and the set the layer to overlay so it interacts with whatever is behind it.
And that’s how I do my abstract portrait paintings in procreate.
Prints of this painting are available to purchase on my Etsy store: https://www.etsy.com/ca/listing/1560030747/smoking-man-canvas-gallery-wraps-wall?click_key=8caa019e32ea11085ad0bf42624adeeb6d568ba8%3A1560030747&click_sum=1f6513cb&ref=shop_home_active_1